Comparing Injection Molding Techniques: Overmolding vs. Insert Molding
Injection molding itself is like the Swiss Army knife of manufacturing: versatile, reliable, and widely used in electronics for everything from housings to tiny connectors. Overmolding and insert molding are two techniques that can make or break your product, depending on how you use them.
2/23/20256 min read

Picture this: You’re designing the next big thing in electronics—a sleek wearable, a rugged IoT sensor, or maybe a connector that’s got to survive a thousand plug-ins. You’ve got specs, timelines, and a budget breathing down your neck. Then comes the moment of truth: how do you turn your vision into a physical product? That’s where injection molding steps in, a manufacturing hero for precision and scalability. But not all molding techniques are created equal. Today, we’re digging into two heavyweights—overmolding and insert molding—to help you figure out which one’s right for your electronics project. Whether you’re sketching circuits or signing off on production runs, this guide’s for you.
Injection molding itself is like the Swiss Army knife of manufacturing: versatile, reliable, and widely used in electronics for everything from housings to tiny connectors. But when your design calls for something special—like a soft grip on a device or a metal pin baked right into the plastic—you need a specialized approach. Overmolding and insert molding are two techniques that can make or break your product, depending on how you use them. So, let’s break them down, explore how they work, and see where they shine (or stumble) in the world of electronics development.
Understanding Overmolding: Layering Up for Success
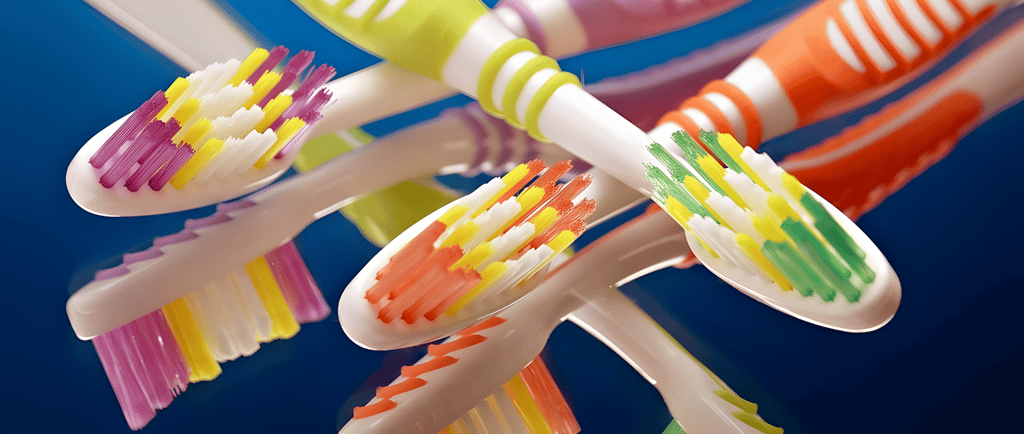
Imagine you’re holding a premium smartwatch. The body’s tough, but the edges feel soft and grippy. That’s overmolding at work—molding one material, usually a softer thermoplastic or elastomer, over a rigid base part. It’s a two-step dance that creates a single, seamless piece with the best of both worlds: strength and comfort.
Here’s how it goes: First, you mold the base part—say, a hard plastic shell for a remote sensor. That piece gets popped into another mold, and then a second material (think rubbery TPE) gets injected over it. The magic happens when these materials bond—sometimes chemically, sometimes mechanically—forming a part that’s tougher than the sum of its pieces. In electronics, this could be the difference between a device that feels cheap and one that screams quality.
Overmolding isn’t one-size-fits-all, though. You’ve got options like multi-shot molding, where a fancy machine fires off multiple materials in one cycle, or two-shot molding, which sequences the injections for precision. These methods are a designer’s dream when you need tight tolerances and flawless finishes—crucial for electronics where every micron counts.
So, where does overmolding shine in your world? Think wearable tech: a fitness tracker with a soft strap fused to a rigid core. Or maybe a handheld controller with a grippy overlay that keeps it from slipping during a sweaty gaming session. In medical electronics, overmolding gives surgical tools ergonomic handles that don’t fatigue a doctor’s hands mid-procedure. It’s about marrying functionality with user experience—something you can’t overlook when your product’s success hinges on how it feels in someone’s hands.
Understanding Insert Molding: Building Strength from Within
Now, let’s switch gears to insert molding. Picture a USB connector with metal pins perfectly nestled in its plastic body—no sloppy glue or extra assembly steps. That’s insert molding: you take a pre-made component (usually metal, like a pin or threaded insert), stick it in a mold, and inject plastic around it. The result? A part where the insert is locked in tight, ready to take on whatever your design throws at it.
The process is straightforward but clever. You start by placing the insert—maybe a brass terminal for a circuit—into the mold. Then, molten plastic flows around it, cooling to form a solid bond. It’s a one-and-done deal, skipping the hassle of post-molding assembly. For electronics designers, this is a time-saver and a game-changer.
Insert molding comes in two flavors: manual, where a worker places inserts by hand (great for prototypes or small batches), and automated, where robots handle the job for high-volume runs. If you’re scaling up production for, say, a million IoT modules, automation’s your best friend.
Applications? Think connectors with embedded contacts, sensor housings with metal mounting points, or enclosures with built-in fasteners. In electronics, where durability and precision are non-negotiable, insert molding delivers parts that can handle repeated use—like a charging port that won’t wiggle loose after a year. It’s less about flash and more about function, which suits the nuts-and-bolts needs of your field.
Key Differences: Overmolding vs. Insert Molding
Alright, so you’ve got the gist of each technique, but how do they stack up head-to-head? Let’s break it down for your next design meeting.
Material Use: Overmolding is a combo deal—two moldable materials, like a hard polycarbonate base with a cushy TPU layer. Insert molding pairs a single plastic with a pre-made insert, usually metal. If your electronic gadget needs a soft-touch exterior, overmolding’s your pick. Need a metal pin or screw locked in place? Insert molding’s the way to go.
Process Complexity: Overmolding can feel like juggling—it often involves multiple steps or shots, especially with multi-shot setups. Insert molding’s simpler: place the insert, mold, done. For tight deadlines on an electronics prototype, insert molding might save you a headache.
Design Goals: Here’s where intent matters. Overmolding’s all about enhancing the user experience—think aesthetics and ergonomics, like a smart speaker with a grippy base. Insert molding focuses on structural guts—embedding components for strength and efficiency, like a circuit board mount. Your product’s purpose will steer you here.
Cost and Time: Overmolding’s extra steps and materials can bump up costs—more molds, more complexity. Insert molding’s leaner, especially with automation, making it a budget-friendly choice for high-volume electronics parts. If your CFO’s watching every penny, this could tip the scales.
Advantages and Challenges: What’s the Catch?
No technique’s perfect, so let’s weigh the pros and cons with your electronics hat on.
Overmolding Advantages: It’s a standout for user-friendly designs. That soft-over-hard combo boosts durability and comfort—think of a rugged tablet casing that survives drops while feeling good to hold. Plus, it skips secondary assembly, saving you from gluing or snapping parts together later. For premium electronics, the polished look and feel can justify a higher price tag.
Overmolding Challenges: Complexity comes at a cost—literally. Tooling for dual molds isn’t cheap, and if your materials don’t play nice (say, they don’t bond well), you’re stuck tweaking recipes. For a small-run prototype, this might feel like overkill.
Insert Molding Advantages: Efficiency is king here. Embedding inserts during molding cuts assembly time—a win when you’re churning out thousands of connectors. The bond’s rock-solid too, perfect for parts under stress, like a sensor mount in a vibrating machine. And for high volumes, automation keeps costs down.
Insert Molding Challenges: Flexibility’s limited—your design’s tied to the insert’s shape and placement. If an insert shifts during molding, you’ve got scrap. Plus, you’re betting on the insert’s quality; a bad batch of pins could tank your run. It’s less forgiving if your prototype’s still evolving.
Choosing the Right Technique: Your Decision Toolkit
So, how do you pick? As a designer or decider in electronics, you’re balancing performance, cost, and that gut feeling about what your users need. Here’s your cheat sheet.
Product Purpose: If your device—like a wearable or a handheld scanner—needs to wow users with comfort and style, overmolding’s layered approach wins. If it’s about rugged reliability, like a circuit housing with metal contacts, insert molding’s your workhorse.
Production Volume: Small batches or prototypes? Overmolding’s flexibility might suit you, even with higher upfront costs. Scaling to millions—like for a mass-market IoT device? Insert molding’s automation keeps it lean and mean.
Budget: Overmolding’s tooling and material costs can sting, especially for tight-margin electronics. Insert molding’s simpler setup might free up cash for other priorities, like R&D.
Material Compatibility: Overmolding demands materials that bond well—test runs are a must. Insert molding needs inserts that hold steady under heat and pressure. Your supplier’s spec sheets will be your lifeline here.
Let’s ground this in reality. Say you’re designing a smart thermostat. Overmolding could give it a soft-touch bezel over a sturdy core, making it a joy to adjust. But for the wall-mount bracket, insert molding embeds metal threads for a secure fit—simple and strong. Two techniques, one product, tailored to the task.
Wrapping It Up: Your Next Move
Overmolding and insert molding aren’t rivals—they’re tools in your kit, each with a sweet spot. Overmolding brings versatility and that premium vibe, perfect for electronics where user experience seals the deal. Insert molding’s your go-to for efficiency and strength, a lifesaver when you’re racing to market with reliable parts. The trick? Match the method to your mission.
Think about your project. What’s the priority—ergonomics or assembly speed? Budget or bragging rights? Sketch it out, crunch the numbers, and maybe bounce it off a molding expert. You’ve got the power to shape not just a product, but how it’s made. So, what’s your next design going to be—and how will you mold it?
SERVICES
Peakingtech © 2025. · Shenzhen, China · Privacy Policy · Terms of Service
Contact Form
Metal Parts
Peakingtech® is a registered trademark of Peakingtech Co in the United States.
COMPANY
CONTACT